
We’ve built a food forest!
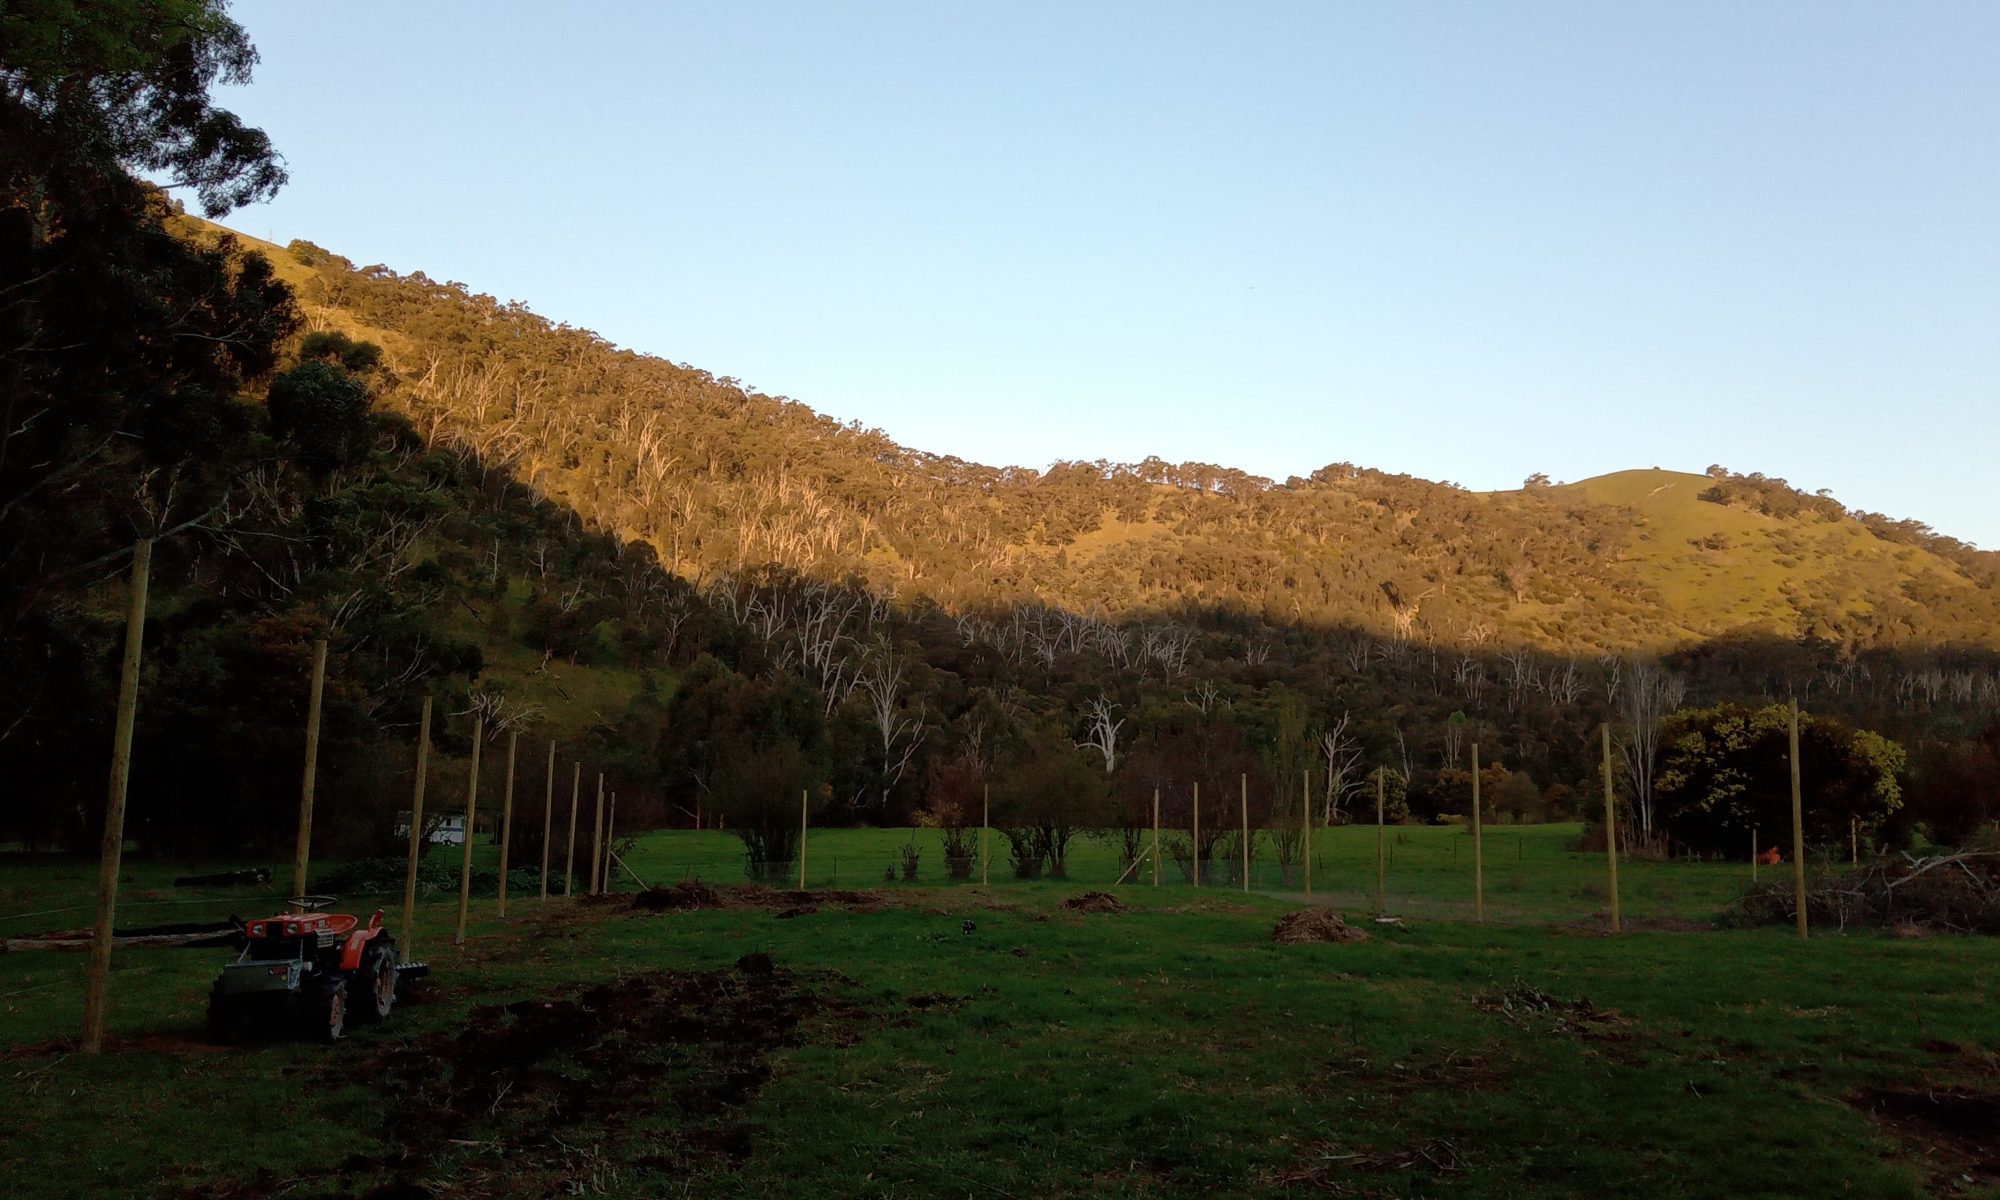
Much of our time lately has been given over to building the structures to accommodate our food forest orchard. If you are planning on building a 1500m2 , 3.7m tall wired and netted orchard by yourself….don’t!
Run away now…save yourself!
Not really, but it has taken a bit longer than anticipated. Our whole valley was a gold mining area; in fact, there’s a mine across the road that was still operating up until mid last century. We suspect our creek has been diverted from its original path and used to flow across our land rather than alongside it. We knew there were bands of river rock under the surface in places because when the foundations for the house were dug they ended up having to call in the largest excavator I’ve ever seen to complete one end of the group of holes. As (bad) luck would have it, much of one boundary of our food forest ran along one of these old stream beds. We are tight for land so moving the food forest was not an option. Although we took the plunge and bought a small excavator (for sale again when we finish our excavations) the holes for the outer posts took some doing. We hit some rocks the size of basketballs in places and the only option was to split them underground with a sledge hammer and a crowbar…not fun. Also some of the holes just ended up very wide because of the rocks and required silly amounts of concrete.

So enough whinging, let’s get down to the nitty gritty of what we’ve done. The orchard has been planned so we can break up the building of it into stages . We’ve finished stage 1 which is the 31 outer posts, a gate, 4 runs of high tensile fencing wire and 2 runs of 1200mm high rabbit wire. Stage 2 will be netting up the remainder of the sides and over the top, with another 2 rows of 5 posts each in the centre to support the netting. There will be tensioned cables going both across and along the structure and outrigger cables fastened to dead man logs on the outside of every second post to support the weight (more on that later). The outer posts are 125mm treated pine, 4.8 metres long , dug 1.1 metres into the ground, and set in between 80 and 120kg (wet) of concrete for each one. The normal ratio for fencing posts is 1/3 in the ground, 2/3 above ground, so you’ll immediately see we haven’t followed that and there are good reasons for it. You can certainly get longer posts, but the next size up is double the price per pole and they are also thicker and much, much heavier. The posts we have used are around 80-100kg each and trust me they are a handful! The next size post up weighs in the 150-200kg range, and you are starting to look at specialised equipment to lift and install them or use risky A frame props and winches. It certainly can be done, but we decided to use a bit of physics to help us instead, and use the lighter, smaller poles. Additionally, digging anything much over a metre, unless you are complete maniac with crowbar and a post hole shovel, you’re going to need more serious equipment at more cost and time.
Basic Specs are as Follows:
- 72 metres on the long boundary
- 21 metres on the short boundary
- 2 metre wide, 2.4 metre high gate
- 4.8 metre long , 125mm diameter treated pine posts, dug 1100mm in and set in concrete
- Posts on the long side are 6 metres apart and 7 metres on the short side (plus an extra post for the gate)
- 8 x 50 metre rolls of 1.2 metre high rabbit wire** for a 2.3 metre high wire fence with a 100mm tail (more on that later)
- 4 runs of 2.5 mm high tensile wire – 3 on the lower run of rabbit wire, and the upper run shares the top wire of the lower run, with one more run at the very top
** Rabbit Wire is 1.4mm thick as opposed to Chicken Wire which is about 0.75mm and not strong enough to keep deer out. Pay the extra and use Rabbit Wire!
Total Costs for Stage 1
-
- Main Posts 4.8 metre 125 mm Diameter CCA H4 Treated Pine – $46 each x 31 = $1426
- Corner Support Posts 3.0m 75mm Diameter CCA H4 Treated Pine – $14 each x 8 = $112
- Rabbit Wire – $240 each x 8 = $1920
- Concrete 20kg bags – $8.40 each x 88 = $739
- Jambro Ring Fasteners – $25 per 1000 x 2 packs = $50
- HT 2.5 mm Fencing Wire 300m Rolls – $60 each x 6 = $360
- Gripple Plus Wire Joiner – $54 per 20 x 3 packs = $162
- Fencing Strainers – $5.40 each x 16 = $ 86.40
- Fencing Staples 4.00 mm/40 mm – $25 per 3 kg packs x 3 = $75
For a grand total of $4930 plus GST – near enough to $5400
Tools Needed
Digging
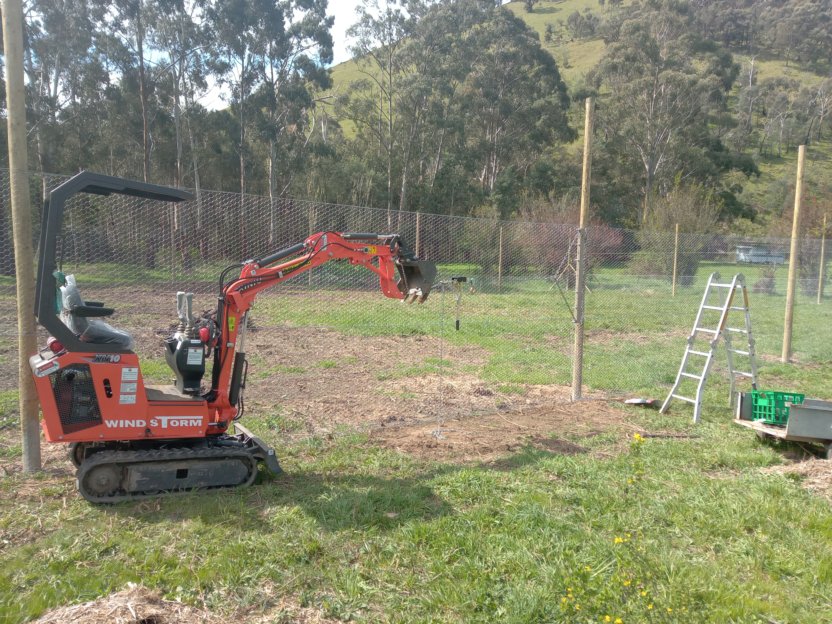
Unless you have exceptionally soft soil, you’re going to need something beyond a manual post hole digger to do this. 200mm wide holes at over a metre deep will test out a petrol powered augur as well. You probably could dig the holes this way if you have the time and patience. You could also use a tractor PTO powered augur, but unless your tractor has provision for rear hydraulics so it can push down on the augur, you’re still going to be spending a lot of time. We chose to use a hydraulic augur on a mini excavator – more on that later – and for the most part it worked well. About half the holes needed manual digging to varying extents; a few were almost entirely dug by hand through rock…joy! Alternatively, the going price to have holes dug by a professional is about $30 to $50 per hole plus an initial call out fee. Hiring a small excavator would be another alternative.
 Fastening the Rabbit Wire
You’ll need a good ring fastener gun . This is a Jambro unit that we used, and it worked very well, as opposed to the original one we naively purchased by mail order which was completely useless. Spend the money and buy a good one – you can thank us later. Also, make sure you use high quality ring fasteners; you’re going to be using a lot, so you want them to hold!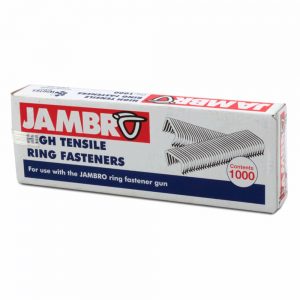
Laying Out the Wire
Two crowbars or 2 very heavy steel pipe are really useful for laying out your rabbit wire (we’ll show you how later).
You’ll want to use a wire dolly for the HT wire. There are very expensive and complex units available; ours is simple and cheap, and works fine. We have it mounted to the carryall on the tractor.
Straining The Rabbit Wire
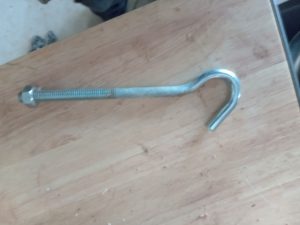 There are all sorts of very expensive tools for grabbing hold of wire mesh so you can strain it, but we just made our own. We used 6 threaded hooks like these. We used 6 for the highly technical reason that that’s how many the local hardware had in stock! We used a 1200mm long piece of scrap hardwood and drilled equidistant holes in it to accommodate the hooks. One set of holes were evenly spaced over 1100mm and another set of 6 holes over 1200mm. The former was done so the we could make allowance for a 100mm tail on the lower run of rabbit, wire as you can see from this image. Angie is ‘assisting’.
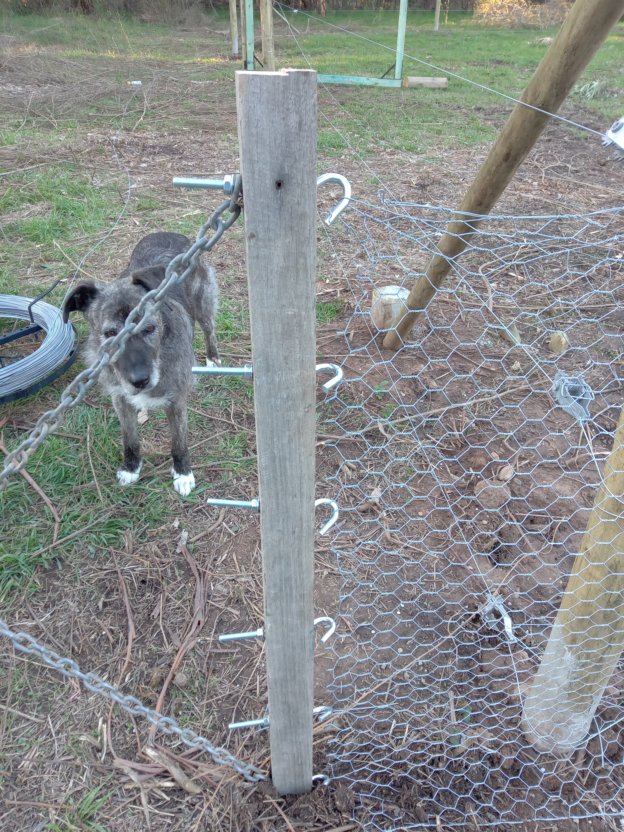
The upper run of course, doesn’t need the tail and so the whole 1200mm length of the wood was used.
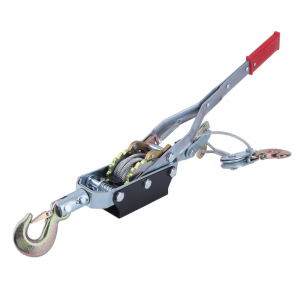 You’re also going to need something to apply tension to the wire mesh. Don’t get carried away and try and tow it tight with a tractor or the mesh will stretch beyond the point of return and you’ll be up for another roll. We used the hand winch we keep in the ute for sticky situations and it worked very well. Just make sure you have something heavy you can anchor it to. Maybe a ute tray, a tractor or a towbar. The only point to remember is you need to pull from pretty much exactly the centre of the height of your wire mesh. For our bottom run, that centre was 550mm above the ground and we found the side of the carryall on the tractor was perfect.
 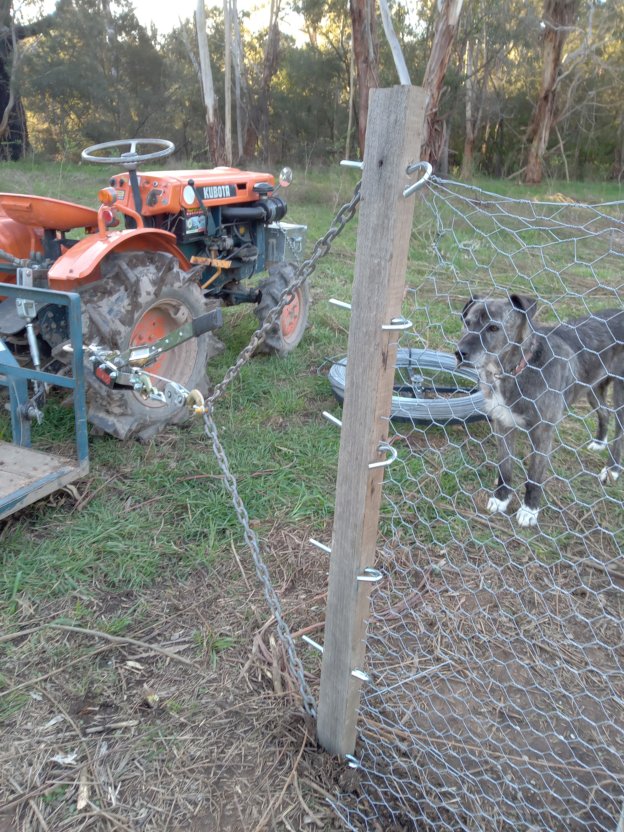 Once again Angie is in action providing invaluable technical advice like, “Where’s ma bloody dinner, dad?”
The upper run is a bit more tricky because you have to be able to pull from 1700mm above the ground, in our case, which is where Digby the excavator came in very handy. You could accomplish the same by clamping a post or a steel pipe to the side of a tractor carryall or a ute tray, or running out to a suitable tree. The tension required is not very great and so the forces are quite low.
Other Notes
When you are using fencing staples, you can use smaller and easier to manage ones for the mesh, but don’t use them to support your high tensile wire as there is quite a lot of vertical force on the wires, and if a staple pulls out you’re going to have a lot of fun getting your wire back up again (from experience.)
You can save a bit by not using Gripples and using termination knots instead. See here for how to tie one :
You can also save a bit by not using wire tensioners and straining the wire instead. Personally, I think the ease of retensioning the support wires if necessary outweighs the extra expense.
Surprisingly, long runs of wire are easier to strain up than short runs, but of course larger rolls are harder to handle, and heavier. We compromised and used 50 metre rolls. Similarly, with the height, you can get taller rolls than 1200mm but they are harder to handle, in particular on the upper run. Possibly a better compromise might have been a lower run at 1800mm and an upper run at 600mm; we’ll try that next time.
In the next part, we’ll run you through how to set up and strain the wires, and list out the plants we have planted in our forest orchard. See you then!