
In our last post we started showing you how we’ve added post sets to our gullies on our front fence line so that we can get away with using mostly star pickets for our fence.

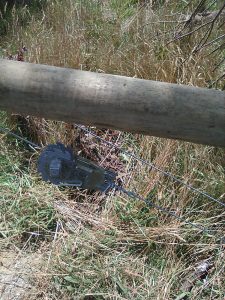
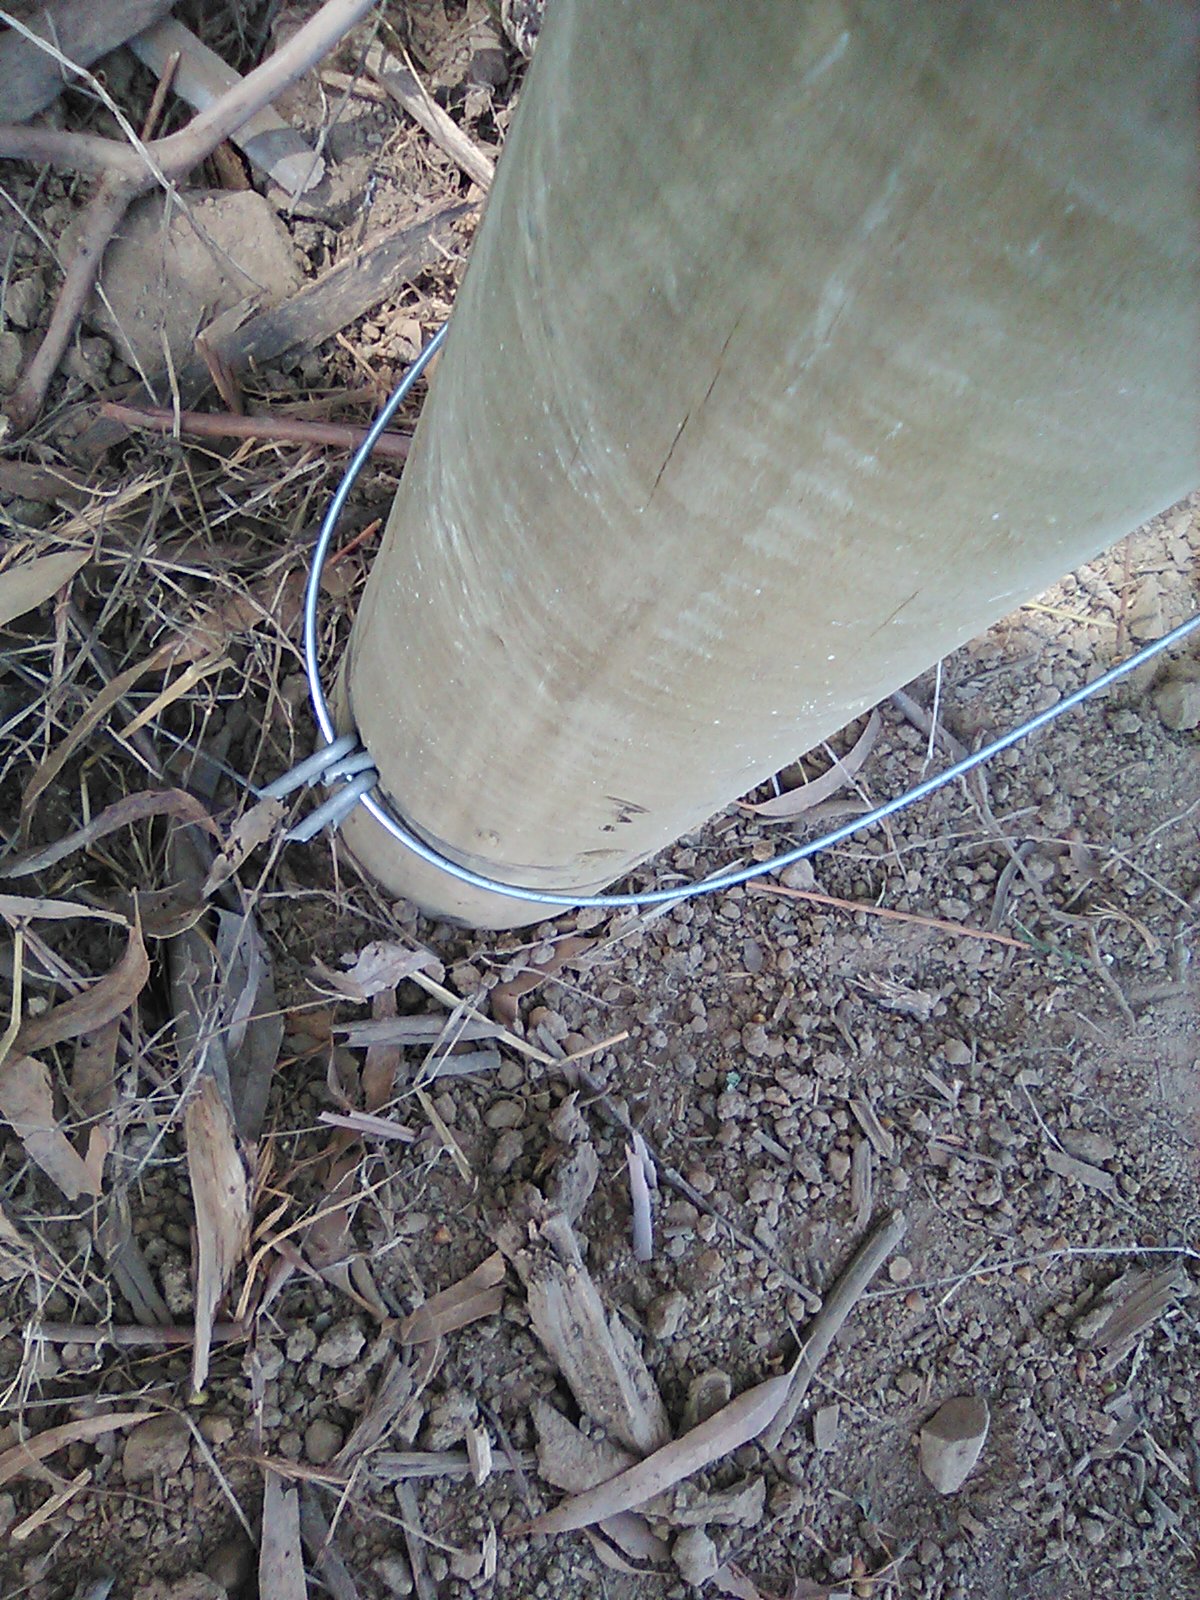
This is one of the finished sets. Hot tip though – when you position the tensioner to strain the securing wire make sure it is down low. In this set my termination knot had more give in it than I anticipated and we very nearly ran out of wire to tension. But, that’s the beauty of using a tensioner, worst case we could just release the tension and slide the loop of wire around and then retension.

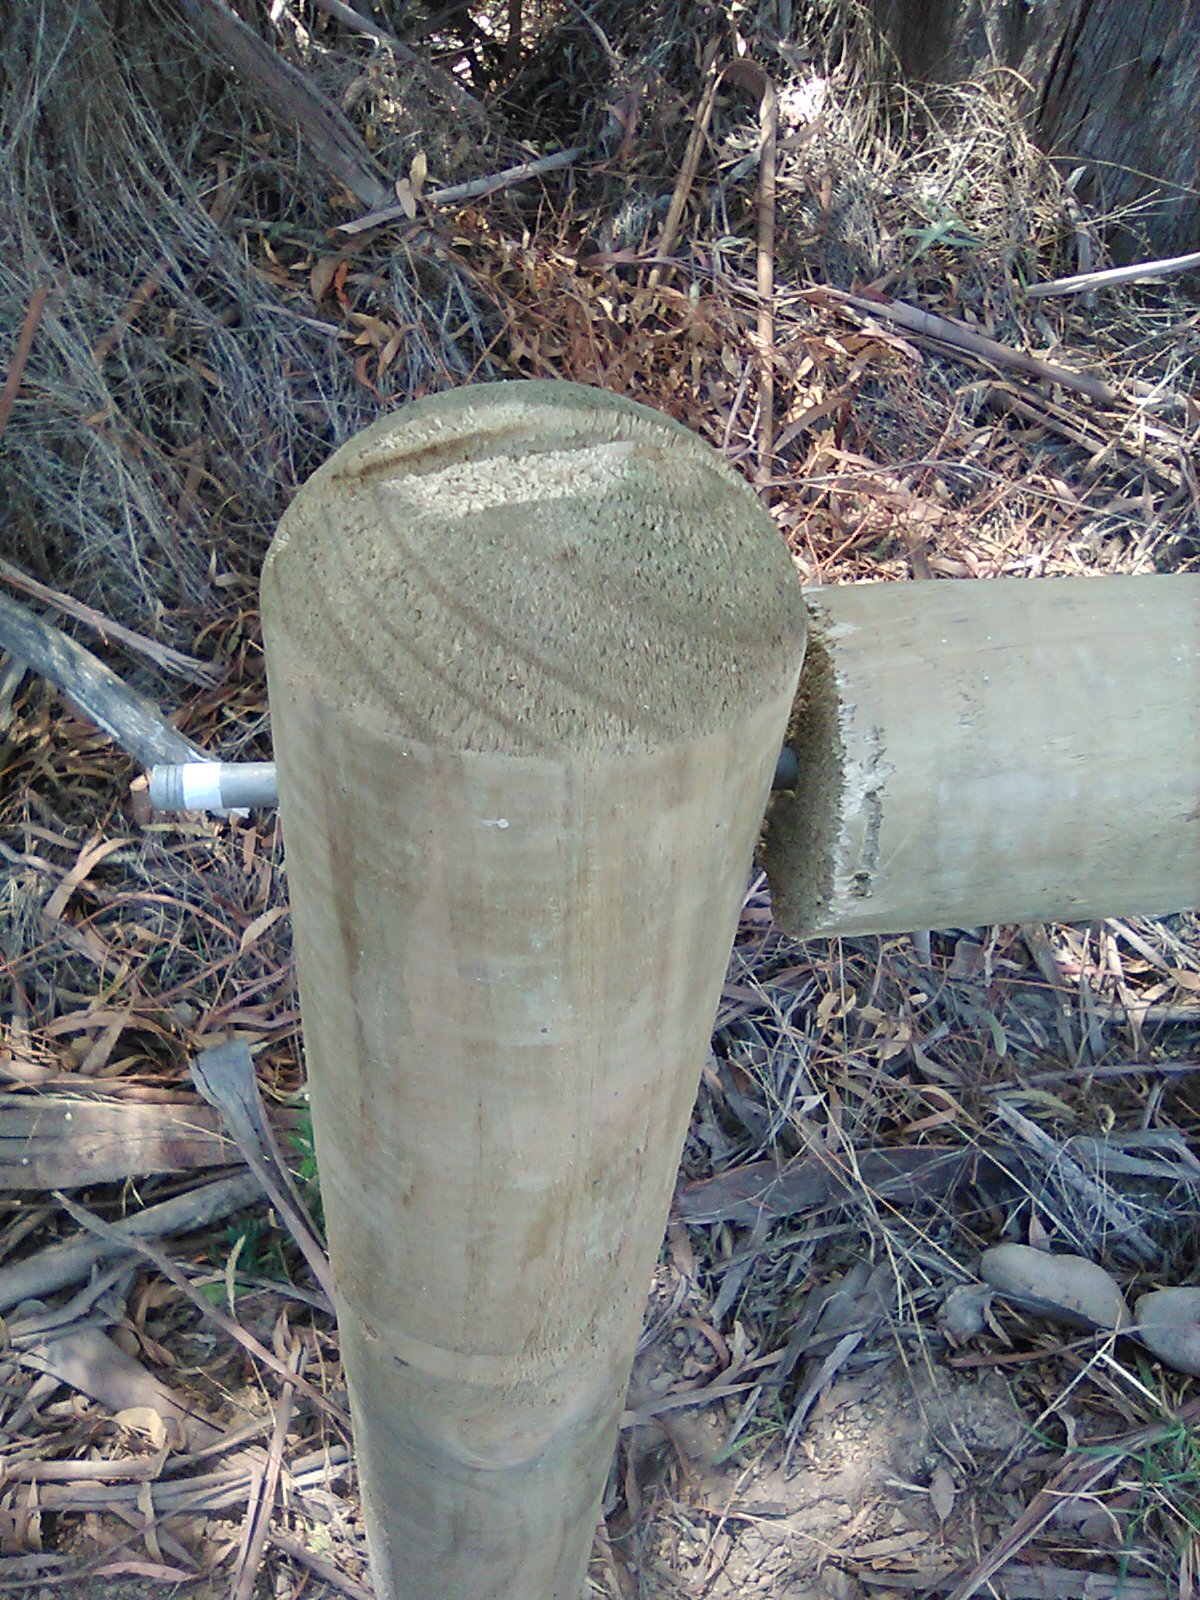
In this image you can see the tension wire running through the slot cut into the top of the post.
The rails are attached using 6 inch nails. The centre post is drilled right through and a 6 inch nail with the head cut off with a hacksaw is positioned in the hole. Drill a corresponding hole through each of the end posts and try and keep the holes level with each other but don’t worry too much if the rails end up on a small angle relative to each other.
Put a shallow corresponding hole in each end of the rails that will face up to the centre post. Position the first rail so that the pointy end of the cut nail sits into the hole you have drilled in the rail and then tap the blunt end so that it drives the nail a little into the rail.

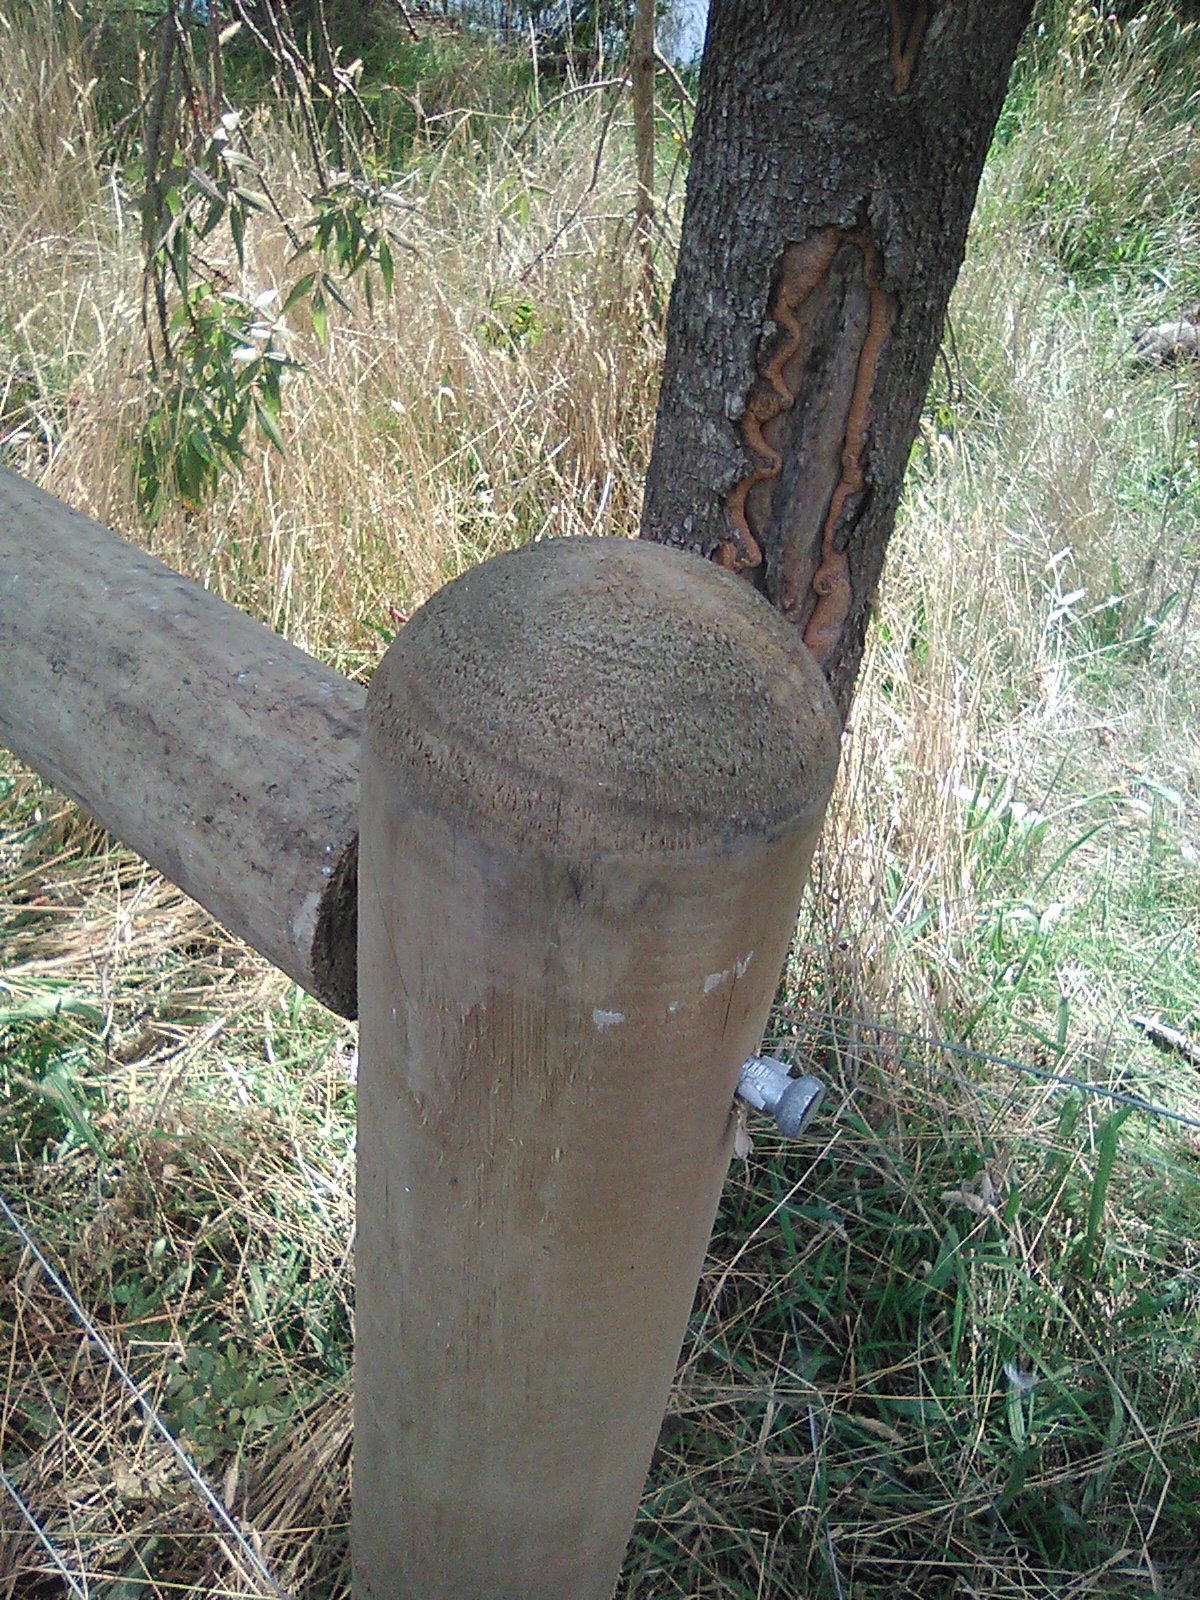
Now level up the rail and drive in a six inch nail through the end post and into the rail. Slide the next rail in place so that the blunt end of the nail in the centre post slides into the hole you have drilled in one end of the rail. Then level the rail and drive in the six inch nail at the other end in the same way you just did for the first rail.
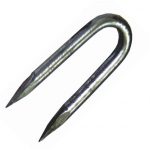
Low down on each end post, on the opposite side to the centre post drive in a fencing staple (see below). Now cut off enough high tensile fencing wire to go from the bottom of one end post, up over the top of the centre post, down to the bottom of the post at the other end and then all then back the same way plus 30cm for a termination knot and some slack. When you pass the wire through the staples on each end post drop loose staples between the wire and the post (see below) to stop the wire digging into the post.
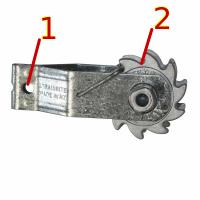
Now loop one end of the wire through the hole in the tensioner (see 1. above) and use a termination knot (see Tim Thompson’s video at the bottom of this post on how to tie the knot) to close off the loop. Take the remaining loose end of the wire and feed it into the drum of the tensioner (see 2. above) with about 2cm of overhang and bend the end over slightly. Now tension carefully. Optional – use some lubricant where the wire wraps around the end posts to allow it to move easily.
Check the tension in a few days, tighten as necessary and you’re all good to go!
When you staple your fence wires in place as you complete your fence only staple to the centre post (i.e. not to the end posts) otherwise you’ll defeat the purpose of the force distribution of this set up.
I’m surprised the slot cut into the top of the post doesn’t end up splitting the post!